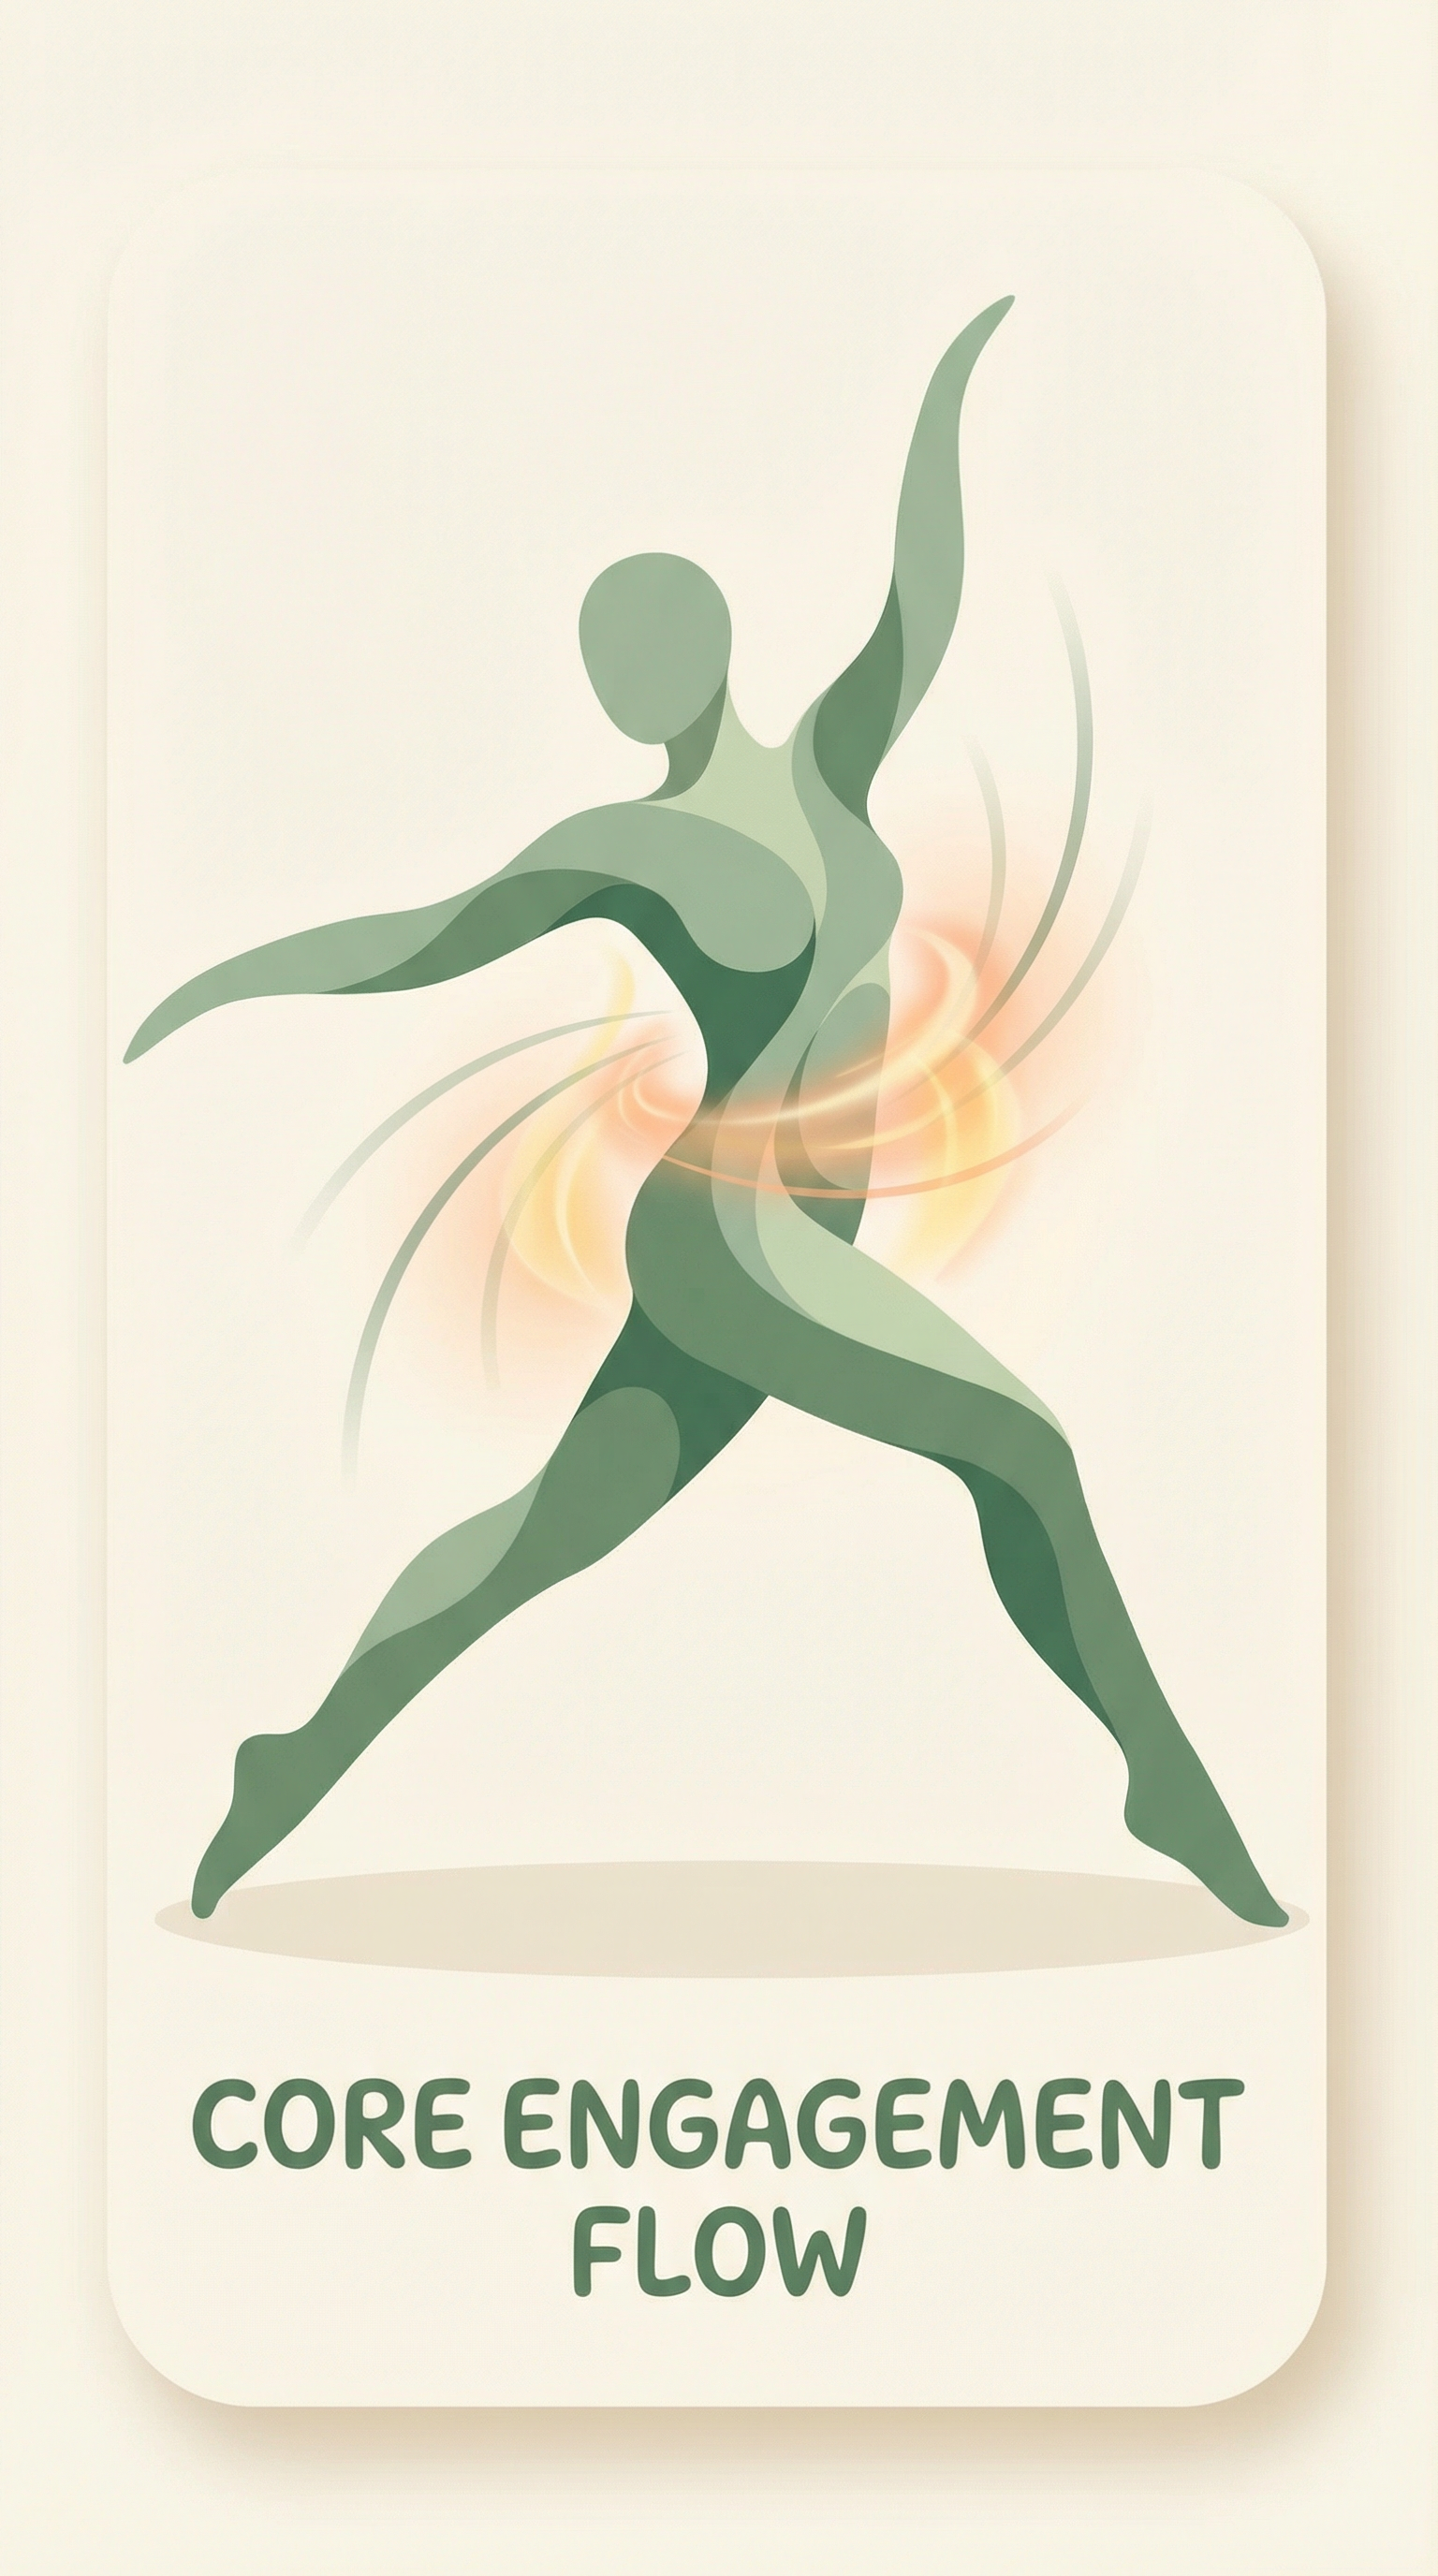
Thresh Core Engagement Study
Patent Pending
Help us develop a state-of-the-art Injury Prevention App. Your participation will contribute to breakthrough technology that helps athletes and fitness enthusiasts train safely and avoid injuries.
Step 1: Download Sensor Logger App
Download the Sensor Logger app on your smartphone to begin collecting movement data from your smartwatch.
Download Sensor Logger
Visit your device's app store and search for "Sensor Logger" or use the link below:
www.tszheichoi.com/sensorloggerAccess the Thresh Study
After installing Sensor Logger, use one of these methods to access the study:
Option 1: Scan QR Code

Open Sensor Logger and scan this code
Option 2: Enter Code
7f99953fEnter this code in Sensor Logger
Pair Your Smartwatch
Ensure your smartwatch is paired with your smartphone and the Sensor Logger app is installed on both devices.
Step 2: Register as a Participant
Before you begin, register to receive your unique Participant ID. Your contributions will help train our AI to detect injury-risk movement patterns in real-time.
High-Precision Two-Recording Protocol
For each exercise, you must submit TWO separate recordings (approximately 10 seconds each):
Protocol A: Safe Form
Perform the exercise with perfect, engaged form for approximately 10 seconds. Maintain tight core engagement throughout.
Status Code:
E = Engaged (Safe)
Protocol B: Risk Form
Perform the exercise with loose or tired form for approximately 10 seconds. Intentionally relax core engagement (use light weights for safety).
Status Code:
D = Disengaged (Risk)
Step 3: Access the Study
Use the QR code or link provided by the Thresh team
Scan the QR Code provided by the Thresh team with your smartphone camera to automatically open the pre-configured study in Sensor Logger.
Click the Link sent to you via email or text message to access the study directly.
Exercise Protocol Guide
Below are the 10 approved exercises for this study. For each exercise, you'll perform Protocol A (Safe Form) during the core-engaged phase and Protocol B (Risk Form) during the core-disengaged phase. This data trains our AI to recognize the biomechanical differences between safe and injury-prone movements.
Protocol A: Safe Form (Tight Core)
Chest Up: Keep stomach tight and back flat as you sit back.
Protocol B: Risk Form (Loose Core)
The Sag: Let the lower back round or "tuck" at the bottom.
Protocol A: Safe Form (Tight Core)
Table Back: Spine stays straight and rigid during the lift.
Protocol B: Risk Form (Loose Core)
The Hunch: Round your back like a cat while pulling the weight.
Protocol A: Safe Form (Tight Core)
Stay Tall: Squeeze your glutes; keep your ribs tucked in.
Protocol B: Risk Form (Loose Core)
The Banana: Arch your lower back and lean away from the weight.
Protocol A: Safe Form (Tight Core)
Dead Hang: Only the arms move; the legs and torso stay quiet.
Protocol B: Risk Form (Loose Core)
The Swing: Kick your legs or "kip" to create momentum.
Protocol A: Safe Form (Tight Core)
Frozen Torso: Body stays parallel to floor; only arms pull.
Protocol B: Risk Form (Loose Core)
The Seesaw: Use your hips and back to "yank" the weight up.
Protocol A: Safe Form (Tight Core)
Flat & Firm: Keep your glutes on the bench and feet on the floor.
Protocol B: Risk Form (Loose Core)
The Bridge: Lift your hips high off the bench to help the push.
Protocol A: Safe Form (Tight Core)
Upright Pole: Torso stays perfectly vertical as you step.
Protocol B: Risk Form (Loose Core)
The Lean: Let your chest collapse forward toward your front knee.
Protocol A: Safe Form (Tight Core)
Statue Mode: Only elbows hinge; no body movement allowed.
Protocol B: Risk Form (Loose Core)
The Rocker: Swing your hips or back to "cheat" the weight up.
Protocol A: Safe Form (Tight Core)
Strict Lift: Raise arms wide without shrugging or swaying.
Protocol B: Risk Form (Loose Core)
The Shrug: Use a "jumping" motion with your torso to lift.
Protocol A: Safe Form (Tight Core)
Neutral Lean: Stay steady; pull the bar to your upper chest.
Protocol B: Risk Form (Loose Core)
The Row: Lean far back and use body weight to pull the bar.
Proper Watch Placement
To ensure high-quality sensor data for the study, please follow this watch-wearing procedure:
Placement
Wear the watch one inch (two fingers' width) above the wrist bone, toward your elbow. Avoid placing it directly on the joint.
Tightness
The strap must be snug. It should not slide or rotate when you move. If you can easily fit a finger under the strap, it is too loose.
Wrist
Wear the device on your dominant wrist (the hand you write with) for the most consistent movement signals.
Skin Contact
Ensure the sensors have direct contact with your skin. Do not wear the watch over sleeves, sweatbands, or wrist wraps.
Position
The watch face must stay on the top of your wrist throughout all exercises. No "inner wrist" positioning is allowed for this study.
Step 4: Start Recording
Create TWO separate 10-second recordings per exercise
Tap "Start Recording"
In Sensor Logger, tap "Start Recording". Your smartwatch will begin capturing movement data.
Perform 10 Seconds with Perfect Form
Maintain proper form with engaged core for approximately 10 seconds. This is your "safe" baseline.
Stop Recording
After approximately 10 seconds, tap "Stop Recording". You'll be prompted to rename the file (see Step 5).
Start a NEW Recording
After renaming your first recording, tap "Start Recording" again to begin a completely separate recording.
Perform 10 Seconds with Loose Form
Intentionally relax your core and use the "risk form" described in the Exercise Protocol Guide. This simulates fatigue or poor form.
Stop Recording
After approximately 10 seconds, tap "Stop Recording". You'll rename this file with the 'D' code (see Step 5).
Step 5: Rename & Upload
Use the mandatory E/D naming system to label your recordings
[Participant ID]-[Exercise]-[Status]
Participant ID
101
(Your 3-digit ID)
Exercise
SQ or Squat
(Code or full name)
Status Code
E or D
(Engaged/Disengaged)
Correct Examples:
101-SQ-ESquat, Engaged (abbreviated)
101-Squat-DSquat, Disengaged (full name)
025-Deadlift-EDeadlift, Engaged (full name)
025-BP-DBench Press, Disengaged (abbreviated)
SQDLOPPUBRBPLUBCLRLPStatus Codes:
E= Engaged (Optimal Core / Safe Form)D= Disengaged (Compensatory Risk / Loose Core)Record 'Engaged' Set (E)
Perform the exercise for approximately 10 seconds with perfect, engaged form (Protocol A). Press 'Stop' in Sensor Logger.
Rename with 'E' Code
Rename the file using the format: [ID]-[Exercise]-E
Examples: 101-SQ-E or 101-Squat-E
Record 'Disengaged' Set (D)
Start a NEW recording. Perform the same exercise for approximately 10 seconds with loose/tired form (Protocol B). Press 'Stop'.
Rename with 'D' Code
Rename the file using the format: [ID]-[Exercise]-D
Examples: 101-SQ-D or 101-Squat-D
Upload Both Files to Thresh Cloud
Select 'Upload Now' for both recordings. The Thresh team will automatically receive your labeled data for AI training.

Exercise Checklist
Tip: Check off each exercise after you've completed both Protocol A (tight core) and Protocol B (loose core) recordings and uploaded them to Sensor Logger Cloud.
Keep your Participant ID handy: You'll need it every time you rename a recording. Consider saving it in your phone's notes or taking a screenshot.
One recording per exercise: Each exercise gets its own separate recording. Don't try to record multiple exercises in one session.
Check your upload: After uploading, you should see a confirmation message. If the upload fails, try again or contact the Thresh team.
Frequently Asked Questions
Find answers to common questions about the Thresh Core Engagement Study